Showing posts with label Our Home. Show all posts

Nursery Spruce Up

We were hit with some pretty nasty weather a couple of weeks ago. Since we were home bound I took the opportunity to do a little spruce up in the little man's room.

BEFORE


These letters were just the cardboard cheapies that you get from the craft store. When we hung them we used the plastic retail clips because any nails used to attach metal hangers would show through. Well, they started falling off the wall, which is a hazard since they were hanging over the crib. So they have actually had a home in the closet for months now. I don't remember who posted the tutorial on the yarn letters, but please let me know if you know who it was so I can give them credit. Anywho, I had letters, I happened to have yarn, and we were stuck inside!


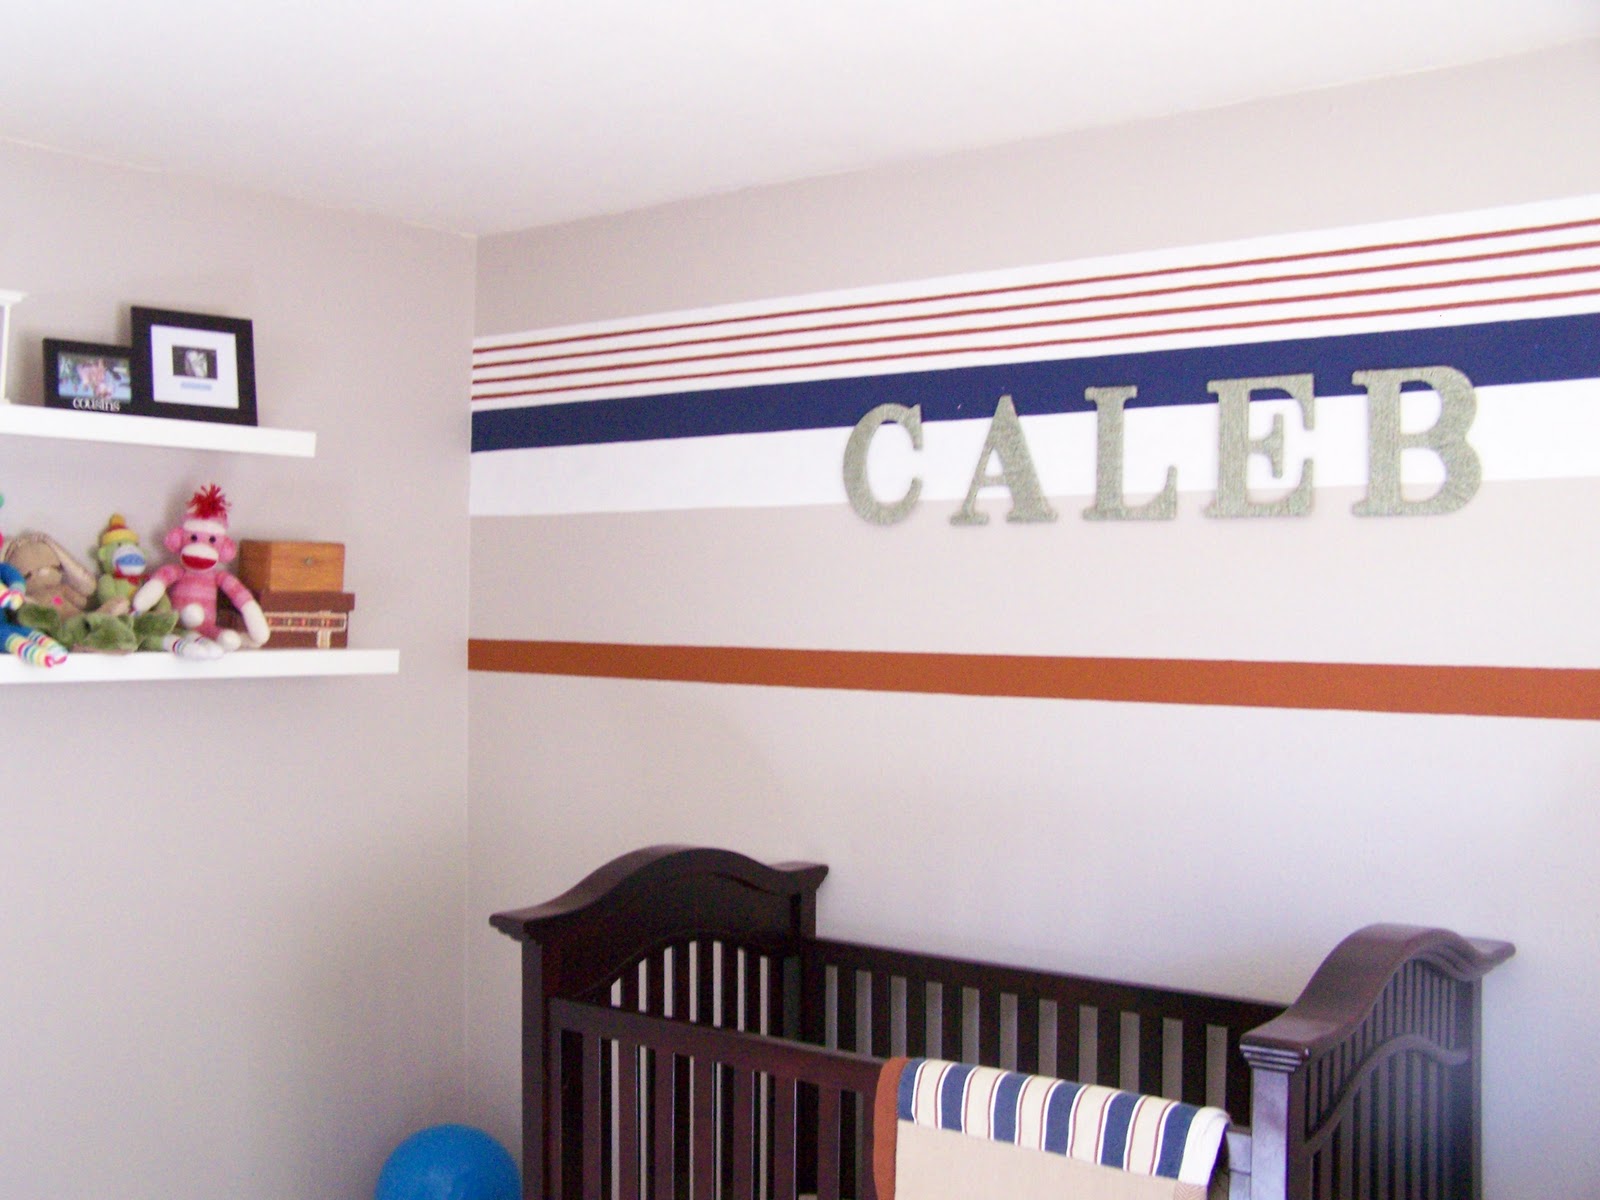
I still need to print some photos for little man's picture frames. He's starting to think he knows those people ;)!


A place to hang his hats. I'm hoping as he gets more, the wall will just get filled with them!


Photobucket

Mirror mirror on the wall, you're the fairest of them all!

Well, I got the mirror finished, and I am going to go ahead and put it out there that I LOVE IT!

When I started out, I really didn't know where I was going with it {not a good plan}. I did however know what colors I wanted to incorporate. However, after the stool debacle I was a little hesitant to jump off of the neutral train. Forging ahead the mirror first got some more life with the same green paint that was used on my coffee table tray. That's a pop of color for you!


The room has a more rustic look so I watered down the grey used on the stencil walled entry and formed a glaze. This glaze was rubbed all over the mirror.


Some stain is then applied to the detailing in order to give the piece some more depth. And there you have it!


Sometimes it's just a free simple change that makes a room fresh!  I am still thinking that I want to do something more with those plates, but I'm not sure yet.


Photobucket

Musical Wall Art

Ugh, we still haven't figured out the computer thing! Apparently it is pretty common with Dell's around this age, so we have a checklist of things we need to do in order to get it up and operating properly. However, it was the weekend and I took the opportunity to use the hub's computer to upload my pictures for the week:)

Remember way back when I wanted to find some thrift owls to makeover? Well, I didn't find any, but I found some cute plates that I knew I could do something with! Originally I thought they would go in the kitchen, but it was too crowded. So I decided to put them on this wall that I've been struggling with for awhile.


Here is a map of where I wanted to place everything. {I strongly urge you to do this if you don't want tons of holes in your walls}!


This is how it looks with everything hung up. That mirror is contrasting too much, and the room is too brown and black. I think I am going to makeover that mirror to give the room more color. Maybe do something with those plates too!


Eventually I would like to swag the light fixture to be centered on that short wall, and add a buffet. When I figure out how to plant a money tree I'll get all of my wish list completed ;)


Stay tuned for how I transform the mirror, and hopefully it won't be as much of a mess as the stool.


Photobucket

Oops I did it again...Card art take two

I played with your heart...  (you'll be singing that all day now ;)

I have never been one for decorating for Valentine's Day, in fact the day itself isn't that big of a deal to me.  My mom however is a HUGE holiday decorator, and sends me some sort of small gift every year.  Those LIVE LOVE LAUGH mini vases were a Valentine's gift from her last year, and these beaded heart coasters came from her as well (still trying to decide what to do with those, stay tuned).  When my sweet hubby brought me some hot pink roses this weekend I decided that they needed the company of some hot pink Valentines Decor.  So stealing a page out of my Christmas Card Art I took a cute Valentine's card that I had given to the Mr. a few years back and framed it. 


 (because I care what people think, cheesy candle or no candle?)

 (why do I point things out?  please excuse the toys in the baskets, I am usually better about hiding them from view!)

Pink is not a color I have ever decorated with, but I love the fun pop of color that this adds to our home!


Photobucket

In Case You Were Wondering...

 This is what I was up to this weekend.  Some of you guessed it, and I really confused others of you, but I was fixing up a Goodwill tray.  Last week I dropped off some stuff at Goodwill, and you know I couldn't pass up going inside and seeing what they had!  Here is my $2 purchase...


Mini Tutorial:

 1.  Prep work - sand, clean, prime and base coat 2. tape off area for accent color  
3. touch up  4. clear glaze coating  5. wait proper dry time (I forgot this last step, and had to go back to start)


I really wanted to add some more color into this room, but mainly I needed a home for my coasters besides in a drawer now that they look so darn pretty!  I think the tray really adds a pop of color and ties in well with the tin art we have on our mantel. 


 For those of you wondering if we had a living room... we do!  I'm sorry I have never posted pictures of this room before, but I couldn't figure out a good way of photographing it without showing you all of the padding around our hearth ;)  Our fireplace is monstrous, and trying to photograph around it is no easy task.  So in light of keeping it real I choose little mans noggin over pretty pictures.


Photobucket 
{join the party}
MakingThe Girl Creative Keeping It Simple

Make it Yours @ My Backyard Eden

CreativeShareWednesdays   


monogram


Office Makeover, A Work in Progress!

Goal for the weekend:
1.  Finish my Christmas cards
2.  Finish some photo book Christmas gifts {ugh, already finished once, but new site has better deal!}
3.  Finish the following office project
4.  And most importantly, spend some quality time with the family!

I will am hoping to finish up this project this weekend as it has been sitting mostly done for three to four weeks.

A work in progress!


Photobucket


Photobucket

Painting Metal Windows

I finally finished painting the exterior of the house.  I had lost all motivation two weeks ago and we had just a nice relaxing weekend.  That left me to get to it last week, and I finished it {I break things down to manageable size, so I still have other parts of the exterior to go}.  It looks pretty much the same as my last post {here} since all I had to really do was the final coat of the trim work.  The biggest difference was the painting of the window mullions.  I can't believe what a difference it makes.  

Before of the Window {and a peek at my helper}

After

I started by scraping off all of the gunk from the mullions, and giving them a good wash.  I didn't sand them because the metal was pretty weathered.  I started taping off the glass, but it was taking a really long time to make all of the cut ins and I knew I would still have to scrape the glass when I was done {like my rationale?}.  After all of the coats were applied to the window mullions I went back in with a glass scraper and got all of the paint off of the panes.  


...and the result is much better than I ever could anticipate!  Before the mullions just blended into the window, now the pop out and you can see all of the detail.  Here are a few more of the After photos!


Now all I need to do is get that same lantern as I have on the front of the house, but that'll have to wait until after the holidays!!


Photobucket
Related Posts Plugin for WordPress, Blogger...